Maintaining Peak Performance: A Guide to GE Appliance Components and Replacement Parts
Maintaining General Electric home appliances involves understanding their intricate systems, which …….
Maintaining General Electric home appliances involves understanding their intricate systems, which include electrical, mechanical, and thermal components. Knowledge of each part's function is key to anticipating failures and ensuring efficiency, as seen with condenser coils in refrigerators or door seals in ovens. Regular monitoring for changes in performance, energy consumption, or unusual sounds can help identify issues early on, allowing for timely repairs or part replacements. GE's online resources provide detailed information on appliance components and maintenance, aiding users in either self-service repairs or professional assistance. Safety is a priority during repairs; always unplug the appliance before beginning. Use the user manual as a reference for disassembly, part removal, and reinstallation, ensuring proper alignment and connections. Test the appliance after repair to confirm its functionality. GE customer support is available for additional guidance when needed. By following these steps, you can effectively maintain your GE appliance's peak performance, ensuring it remains efficient, safe, and long-lasting.
When it comes to maintaining the integrity and functionality of your GE appliances, the role of replacement parts is paramount. This article delves into the essentials of understanding GE appliance components for maintenance purposes, enabling homeowners to pinpoint when worn parts necessitate replacement. We’ll provide a comprehensive step-by-step guide on installing GE appliance replacement parts, ensuring that your devices operate at their peak performance. Mastery of these steps not only extends the lifespan of your appliances but also safeguards the health and efficiency of your home environment.
- Understanding GE Appliance Components for Maintenance
- Identifying Worn Parts and When to Replace
- Step-by-Step Guide on Installing GE Appliance Replacement Parts
Understanding GE Appliance Components for Maintenance

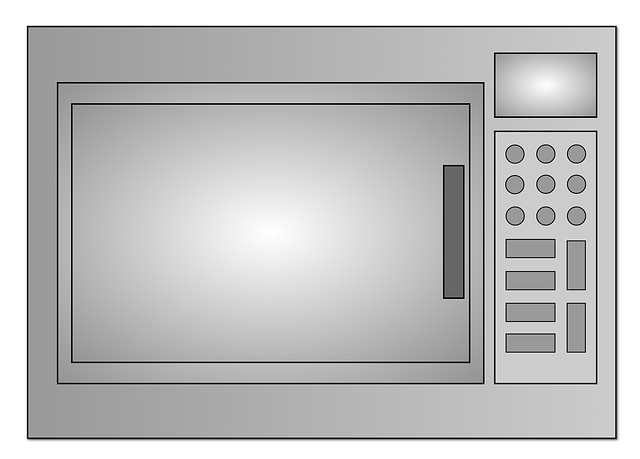
When maintaining GE appliances, having a foundational understanding of their components is key to ensuring their optimal function. General Electric, or GE, has been at the forefront of home appliance innovation for decades, creating machines that simplify everyday tasks with efficiency and reliability. Each appliance, whether it’s a refrigerator, dishwasher, or range, consists of various elements that work in concert to deliver peak performance. From the intricate circuitry in a microwave to the complex mechanical systems within a washing machine, knowledge of these parts allows for informed maintenance and troubleshooting. For instance, recognizing the role of the condenser coils in a refrigerator or the importance of door seals in maintaining cold temperatures is crucial for upkeep that extends the appliance’s lifespan. Similarly, understanding the function of heating elements in ovens or pumps in dishwashers enables homeowners to replace parts before they fail, thus preventing more extensive damage. By familiarizing oneself with the specific components that make GE appliances operate, one can perform maintenance tasks with confidence, ensuring longevity and performance consistency. It’s also beneficial to reference the user manuals or consult online databases for detailed diagrams and descriptions of each part, which are invaluable resources for DIY repairs or when seeking professional assistance.
Identifying Worn Parts and When to Replace
When GE appliances exhibit suboptimal performance or unusual noises, it’s often due to worn parts that require attention. Regular monitoring for signs of wear and tear is essential to maintaining their functionality. Common indicators include a decrease in efficiency, increased energy consumption, or a change in the operation sound. For instance, if your GE refrigerator’s door seal becomes brittle and cracked, allowing cold air to escape, it should be replaced promptly to maintain optimal temperature control. Similarly, a GE washer with a faulty water pump motor may show signs of weakened performance, such as incomplete or irregular spinning cycles, necessitating replacement to ensure proper functioning.
Determining when to replace worn parts involves assessing the age of the appliance, the frequency and cost of repairs, and the availability of compatible replacement parts. It’s advisable to consult the appliance’s user manual for specific maintenance guidelines or contact GE’s customer support for professional advice. Additionally, considering the lifespan of the appliance and the importance of safety and efficiency can guide the decision-making process. For example, if a GE dryer’s heating element is beyond its average lifespan and requires frequent repairs, it may be more cost-effective in the long run to replace the entire unit rather than continuously replacing elements. Regular inspections, timely maintenance, and prompt replacements of worn parts are key to ensuring that your GE appliances operate at their best.
Step-by-Step Guide on Installing GE Appliance Replacement Parts

When your GE appliance requires maintenance or repair, installing replacement parts is a crucial step to restore its optimal function. Begin by identifying the exact part needed for your specific model. GE provides detailed diagrams and compatible parts lists online, which can guide you through selecting the correct component. Once you have the right part, follow these steps to ensure proper installation:
1. Start by unplugging the appliance from its power source and, if applicable, disconnecting any gas lines or water supply hoses to prevent any electrical or gas-related hazards during the repair process. Always adhere to safety precautions and use appropriate tools for the job.
2. Access the faulty part by removing any necessary panels or screws. Refer to your appliance’s user manual or installation guide for specific instructions on how to disassemble the particular model you are working on. Carefully remove the old part, taking note of its position and function within the appliance.
3. Install the new replacement part by aligning it with the corresponding connection points. If it’s an electrical component, ensure that all connections are secure and properly insulated. For moving parts like a door latch or a motor shaft, make sure they move smoothly without excessive play.
4. Reassemble the appliance by reversing the disassembly process. Reattach any panels or screws, ensuring a tight but not overly tight fit to avoid damaging the components.
5. Plug the appliance back in and perform a test run to ensure that the replacement part is functioning correctly and that the appliance operates as intended. If you encounter any issues, consult the installation guide again or contact GE customer support for further assistance.
By following these steps meticulously, you can confidently install replacement parts in your GE appliances, ensuring their continued optimal performance.
In conclusion, maintaining the optimal function of GE appliances is a task that hinges on the knowledge of their components and the recognition of when parts have reached the end of their service life. This article has provided a comprehensive overview, from understanding the inner workings of these appliances to identifying worn parts and guiding readers through the process of installing replacement components. By following the outlined steps and staying informed about the care and maintenance of GE appliances, consumers can extend the lifespan of their devices and ensure they continue to operate efficiently and effectively.